How to Replace a Trailer Tire
Apr 16, 2019Last Updated on September 30, 2024 by Matthew Sholly
Last Updated on September 30, 2024 by allprotrailersuperstore

As the proud owner of a trailer, you know it requires diligent upkeep. And although you can do some of the necessary care and maintenance tasks yourself, in the comfort of your lot or driveway, others require a professional touch and call for you to bring your trailer into the mechanics to get it checked out.
While there’s certainly a time and an occasion for the professionals to get involved, however, there are several tasks responsible trailer owners should know how to perform themselves. One such task is knowing how to change a trailer tire. If you’ve never done that before, don’t worry. It’s more straightforward than it sounds, and is something anyone can quickly learn how to do.
Today, to help you learn this new skill, we want to walk you through the process from start to finish, as well as discussing how to recognize when to change a trailer tire and realizing when it’s time to call for a little professional assistance.
Table of Contents
- Why Do Tires Need Replacing?
- How to Tell When It’s Time to Change a Trailer Tire
- How to Choose New Tires for Your Trailer
- How to Jack up a Trailer
- How to Replace Your Trailer Tire
- Call in the Professionals
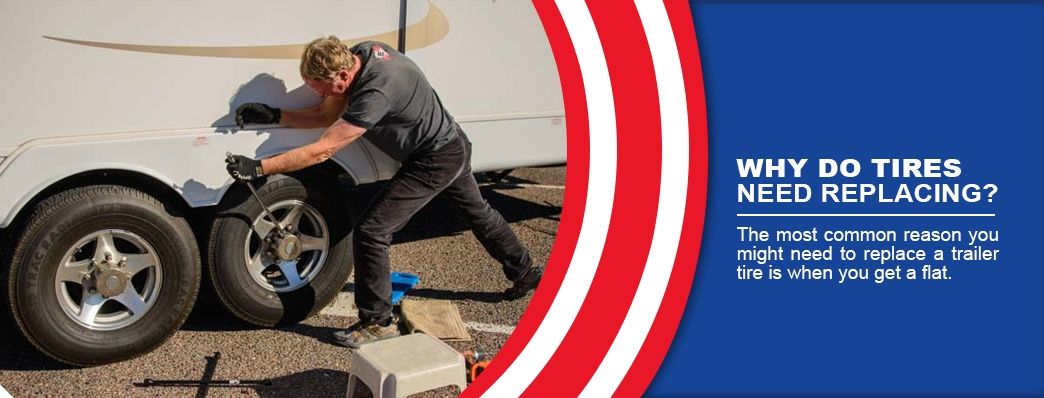
Why Do Tires Need Replacing?
The most common reason you might need to replace a trailer tire is when you get a flat. Flat tires happen to all of us at one time or another, and there isn’t always a way to prevent them. Maybe you caused the flat by making a mistake somewhere along the line, but it might also result from circumstances beyond your control. The most common reasons for flat and damaged tires include the following.
- Gradual air loss: All tires are slowly losing air. Even if a tire is sitting idle in a shed, it’s still slowly leaking tiny amounts of air. Given enough time, this will cause a tire to go flat if you don’t reinflate it.
- Punctures: Let’s say you happened to drive over a nail in the road. This nail might stick into your tire, punching a tiny hole and leaking air until the tire becomes flat. The obvious advice here is to try to avoid sharp objects, but of course, no one drives over a nail on purpose. These types of tire wounds are usually just the result of unfortunate accidents, and there’s little anyone can do to prevent them.
- Low air pressure: Uninflated tires that are not at their maximum internal pressure will overheat faster — especially if they’re carrying heavy loads, as they might be in the case of a trailer. If they overheat too quickly, this will cause them to fail and need replacing. Prevent this by always making sure you have fully inflated tires before taking your trailer on the road.
- Weathering: If you keep your trailer outside, parked in a lot or a driveway, those tires are going to be baking in the sun for hours on end every day. This sun exposure isn’t a problem in the short term, but over time will lead to weather-related cracking, which can cause tires to fail. Prevent this by storing your tires out of the sun.
- Incorrect usage: Sometimes, people may think they’ll cut corners by using ordinary car tires on trailers. However, this is a poor plan, as these regular tires are not designed to carry-trailer sized loads, and will wear out quickly.
- Aging: Just as too much sun can crack your tires, so too will the passage of time. Trailer tires don’t last as long as car tires, and even under the best circumstances, they will only last about four years. After this time, they’ll start to show cracks and you’ll know it’s time to replace them.
How to Tell When It’s Time to Change a Trailer Tire
Sometimes, it’s easy to know when you need to change a trailer tire. For example, if you’ve broken down on the side of the road with a flat tire, there’s usually no mistaking the problem. If it hasn’t quite come to this yet, however, you can still realize your tires need changing by looking for the following.
- Punctures: Maybe something cut a small hole in your tire, and you didn’t notice. If it seems like your tires are always running low on air, check for any small puncture wounds. Even if you don’t find any, the frequent need to add air to your tires is a sure sign they’re on their last legs.
- Cracks: These might be from the sun, or they might be from age. Either way, if you start to see cracks appearing along your tires, it’s probably time to swap them out for replacements.
- Age: If you’ve had your tires for four or more years, it’s time to replace them. Even if they haven’t started giving you trouble yet, it’s always better to be safe than sorry. If you don’t replace them in the safety of your driveway, you never know what kind of trouble you could find yourself in on the road later.
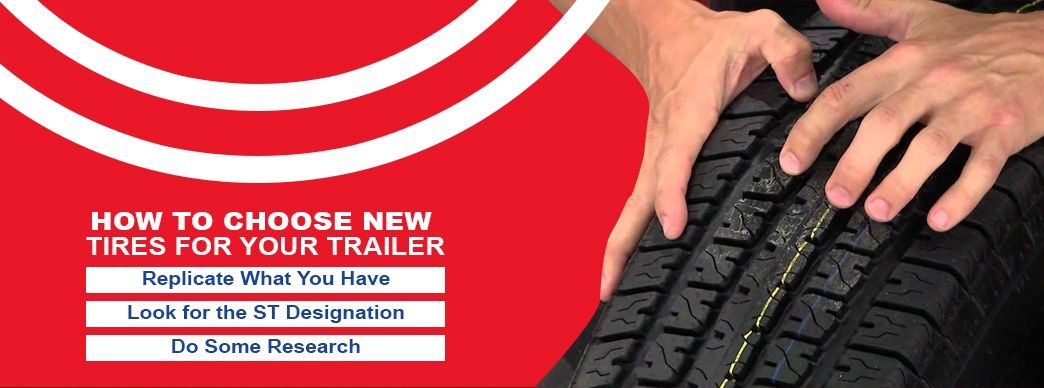
How to Choose New Tires for Your Trailer
So you’ve determined you need to replace your tires. The next step? Figuring out how to find new ones. Here are some of our best tips for completing this process.
1. Replicate What You Have
The easiest solution is to write down the details about the tires you already have on your trailer, or take a picture of the tire designation. Then, head to your nearest tire center or online store and search for this same model. By doing this, you’ll ensure you get the right tire for your trailer, since you’ll be getting the same ones you had on it before. The only drawback to this technique is that it isn’t the best choice for situations where you didn’t like your last pair of tires, and you’d prefer to get a different brand.
2. Look for the ST Designation
Everyone will have differing opinions about which tires are the best. However, as long as you’re choosing designated trailer tires instead of passenger car tires, you’ll be in good shape. To make sure you buy the correct type of tire, always look for the ST designation. If the tire in question has this mark on it, you can be sure you’re on the right track.
3. Do Some Research
Do you have any friends who use trailers like yours? Ask them what tire make and model they prefer. Call up your mechanic and ask what they’d recommend. You might even ask the tire company what tires they recommend for your specific trailer. You shouldn’t feel the need to follow these recommendations to the letter, but they can be a great jumping-off point for you to decide.
How to Jack up a Trailer
Once you’re armed with your replacement tire, jacking up the trailer is your first step in the process of how to change trailer tires. Before doing this, however, take the precaution of loosening the lugs ahead of time.
You can also loosen the lugs after you have the wheel jacked up, but doing so will leave the tire free to spin while you try to unscrew the nuts. By completing this step while the tire is on the ground, you ensure the tire will stay still. Use a lug wrench to partially unscrew the lug nuts, but don’t remove them yet. Leave them in the wheel, loosened to the point where they’ll be easy to remove once you’re ready.
When you’re finished loosening the lugs, place the jack under the trailer’s frame, at the back side of the damaged tire. On the other side of the trailer, slide a wheel chock under one of the tires to keep it from sliding around. Then, steadily jack up the trailer until there’s enough room to take the tire off the bolts and get a new tire on again. Keep in mind that if the old tire is flat, you’ll need to jack the trailer higher than you might think. A flat tire doesn’t need much room to slide off the bolts. A new tire will be larger and need more space.
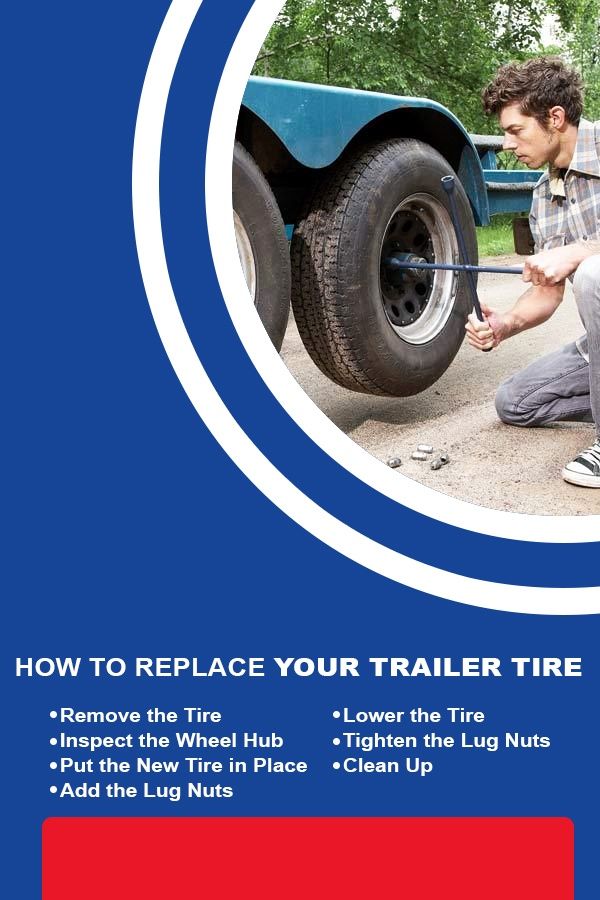
How to Replace Your Trailer Tire
Once you’ve safely jacked up your trailer and you have all your tools ready to go, it’s time to get started on the process of changing the tire itself. Follow these steps, and you can’t go wrong.
1. Remove the Tire
With the tire safely in the air, reach in and remove the lug nuts you loosened earlier. These should come out easily, after which it will be a simple matter to slide the used tire off the lug bolts. Keep the nuts nearby, as you’ll need them again. You can now put the old tire aside, as it has served its purpose.
2. Inspect the Wheel Hub
Once you’ve removed the tire and the wheel hub is bare, this is a perfect time to glance at it and make sure everything still looks normal and functional. Check that the studs and bearings are in good working condition, and reassure yourself that nothing is cracking or buckling. This inspection isn’t necessary to the changing of the tire, but it is a rare opportunity to see the wheel hubs laid bare, so it makes sense to give them a quick once-over while you’re at it.
3. Put the New Tire in Place
It’s time to grab that shiny new tire and lower it into place on the lug bolts. If you see anything that seems off — maybe you somehow bought the wrong size or type — now’s the time to notice that and head out to buy the correct tire this time. Give the tire a thorough look to ensure everything seems ordinary before proceeding.
4. Add the Lug Nuts
Grab those lug nuts you removed earlier and put them back on to secure the new tire in place. You can do the first few turns by hand. You won’t be able to tighten them all the way yet, since you’re only using your hands and the wheel is probably trying to spin in circles. For now, get them as tight as you can, to make sure the tire isn’t going to fall off.
5. Lower the Tire
Once the lug nuts are as tight as you can get them with your hands, it’s time to lower the jack until the tire rests flat on the ground. Pull this out from under the trailer and set it aside, and don’t forget to remove the wheel chock from the other side of the trailer as well.
6. Tighten the Lug Nuts
With the added pressure of the tire against the ground, you should have the resistance you need to finish tightening the lug nuts the rest of the way. Grab your lug wrench again, and use this to tighten the lugs to the fullest extent, until they positively won’t move anymore. The last thing you want is for the lug nuts to come loose and the tire to go flying off as you’re driving down the road.
7. Clean Up
Congratulations, you finished the job. The new tire should be securely in place, and shouldn’t need any more maintenance for a long while. All that’s left to do is clean up the tools scattered around and dispose of the old tire. To get rid of a used tire, wait for a bulk trash collecting event in your community and dispose of it then. You might also visit your local mechanic’s shop and ask if they recycle tires. You can even recycle your tire yourself by turning it into a tire swing, a garden planter or even a compost bin.
If you do decide to recycle your tire yourself, make sure to remove the rim and wheel weights before you put your tire to its new use. Cutting the rim away from the tire can be dangerous, however, so don’t attempt this unless you have experience with power tools and feel confident you know what you’re doing.
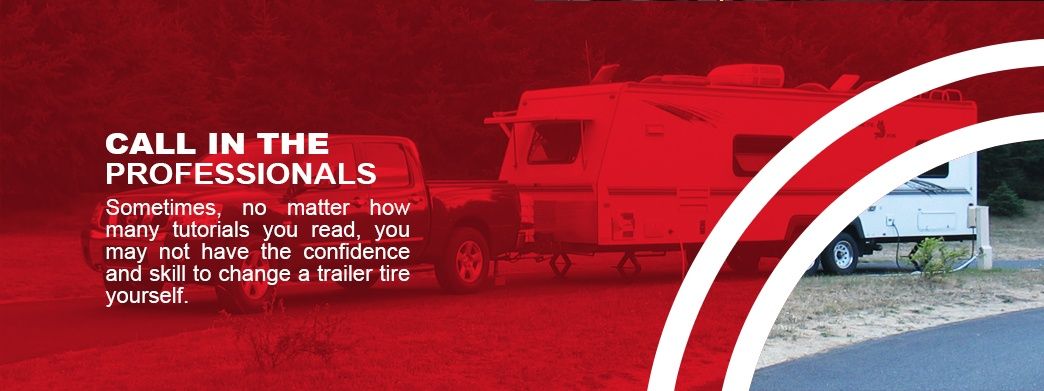
Call in the Professionals
Sometimes, no matter how many tutorials you read, you may not have the confidence and skill to change a trailer tire yourself. This is entirely natural, and nothing to feel awkward about. Plenty of people seek professional help with their tire replacements every day, and if you choose to do the same, you’ll be in good company. If you’re ready for new tires and you don’t feel up to replacing them on your own, we want to help. Our team here at All Pro Trailer Superstore has years of experience in replacing tires on all kinds of trailers, and we’d be delighted to work with you on your trailer.
Tire replacement isn’t the only service we offer, either. Whether your trailer needs inspecting, repairs or some extra customization, we’re glad to help. What if you don’t yet have a trailer, but are thinking of taking the plunge and buying one? We sell trailers as well. Although our headquarters is in Pennsylvania, we’re proud to serve trailer owners, renters and buyers across the Mid-Atlantic and New England area.
Are you ready to get your tires fixed and prepared for your upcoming trip? Bring your trailer into Trailer Superstore today and learn why so many people trust us with their trailer maintenance needs.
