How to Wire a 7-Way Trailer Plug
Apr 09, 2024Last Updated on November 27, 2024 by Daniel Houck
Last Updated on November 27, 2024 by allprotrailersuperstore

Correct wiring in a seven-way trailer plug is crucial for safe and efficient towing. Each plug pin has a specific function, such as brake lights, running lights, turn signals and auxiliary power supply. Faulty wiring can damage your vehicle’s electrical system or trailer components.
Proper wiring ensures these functions work correctly, keeping you and your vehicle safe by allowing other drivers to see your intentions on the road.
Understanding the 7-Pin Trailer Plug Wiring Diagram and Color Code
The color code for a seven-way trailer plug helps users correctly wire the connections for various functions. Here is a typical color code and a diagram for a 7-way trailer plug but there are other variations:
- White: Ground
- Blue: Electric brakes
- Green: Right turn signal and brake light
- Yellow: Left turn signal and brake light
- Brown: Taillights and running lights
- Red: Auxiliary 12V Power
- Black: Reverse lights
Following this color code and corresponding diagram helps you connect the wires to the correct function on the trailer and towing vehicle. It’s essential to match the colors from the plug to the corresponding functions for safe and efficient operation. Additionally, remembering that the color coding for trailers and RVs is usually different is critical for connecting the correct wiring.
Step-By-Step Wiring Guide
The tools you need to wire a seven-pin trailer plug include a Philips head screw gun or screwdriver, a flathead screwdriver, a pair of wire snippers and harness tape or zip ties. Follow these steps to complete the wiring:
- Safety first: Turn off all power sources to avoid accidents.
- Prepare the wires: Strip the wires and make sure they are ready for connection.
- Identify the functions: Match the colors of the wires from the plug to their corresponding functions.
- Connect the wires: Attach each wire to its designated function on the trailer and vehicle using butt connectors or a soldering gun.
- Test the connections: After wiring, test each function to verify they work correctly, including brake lights, turn signals and other functions.
- Secure the wiring: Use harness tape or zip ties to secure the plug and wires to help prevent damage during towing.
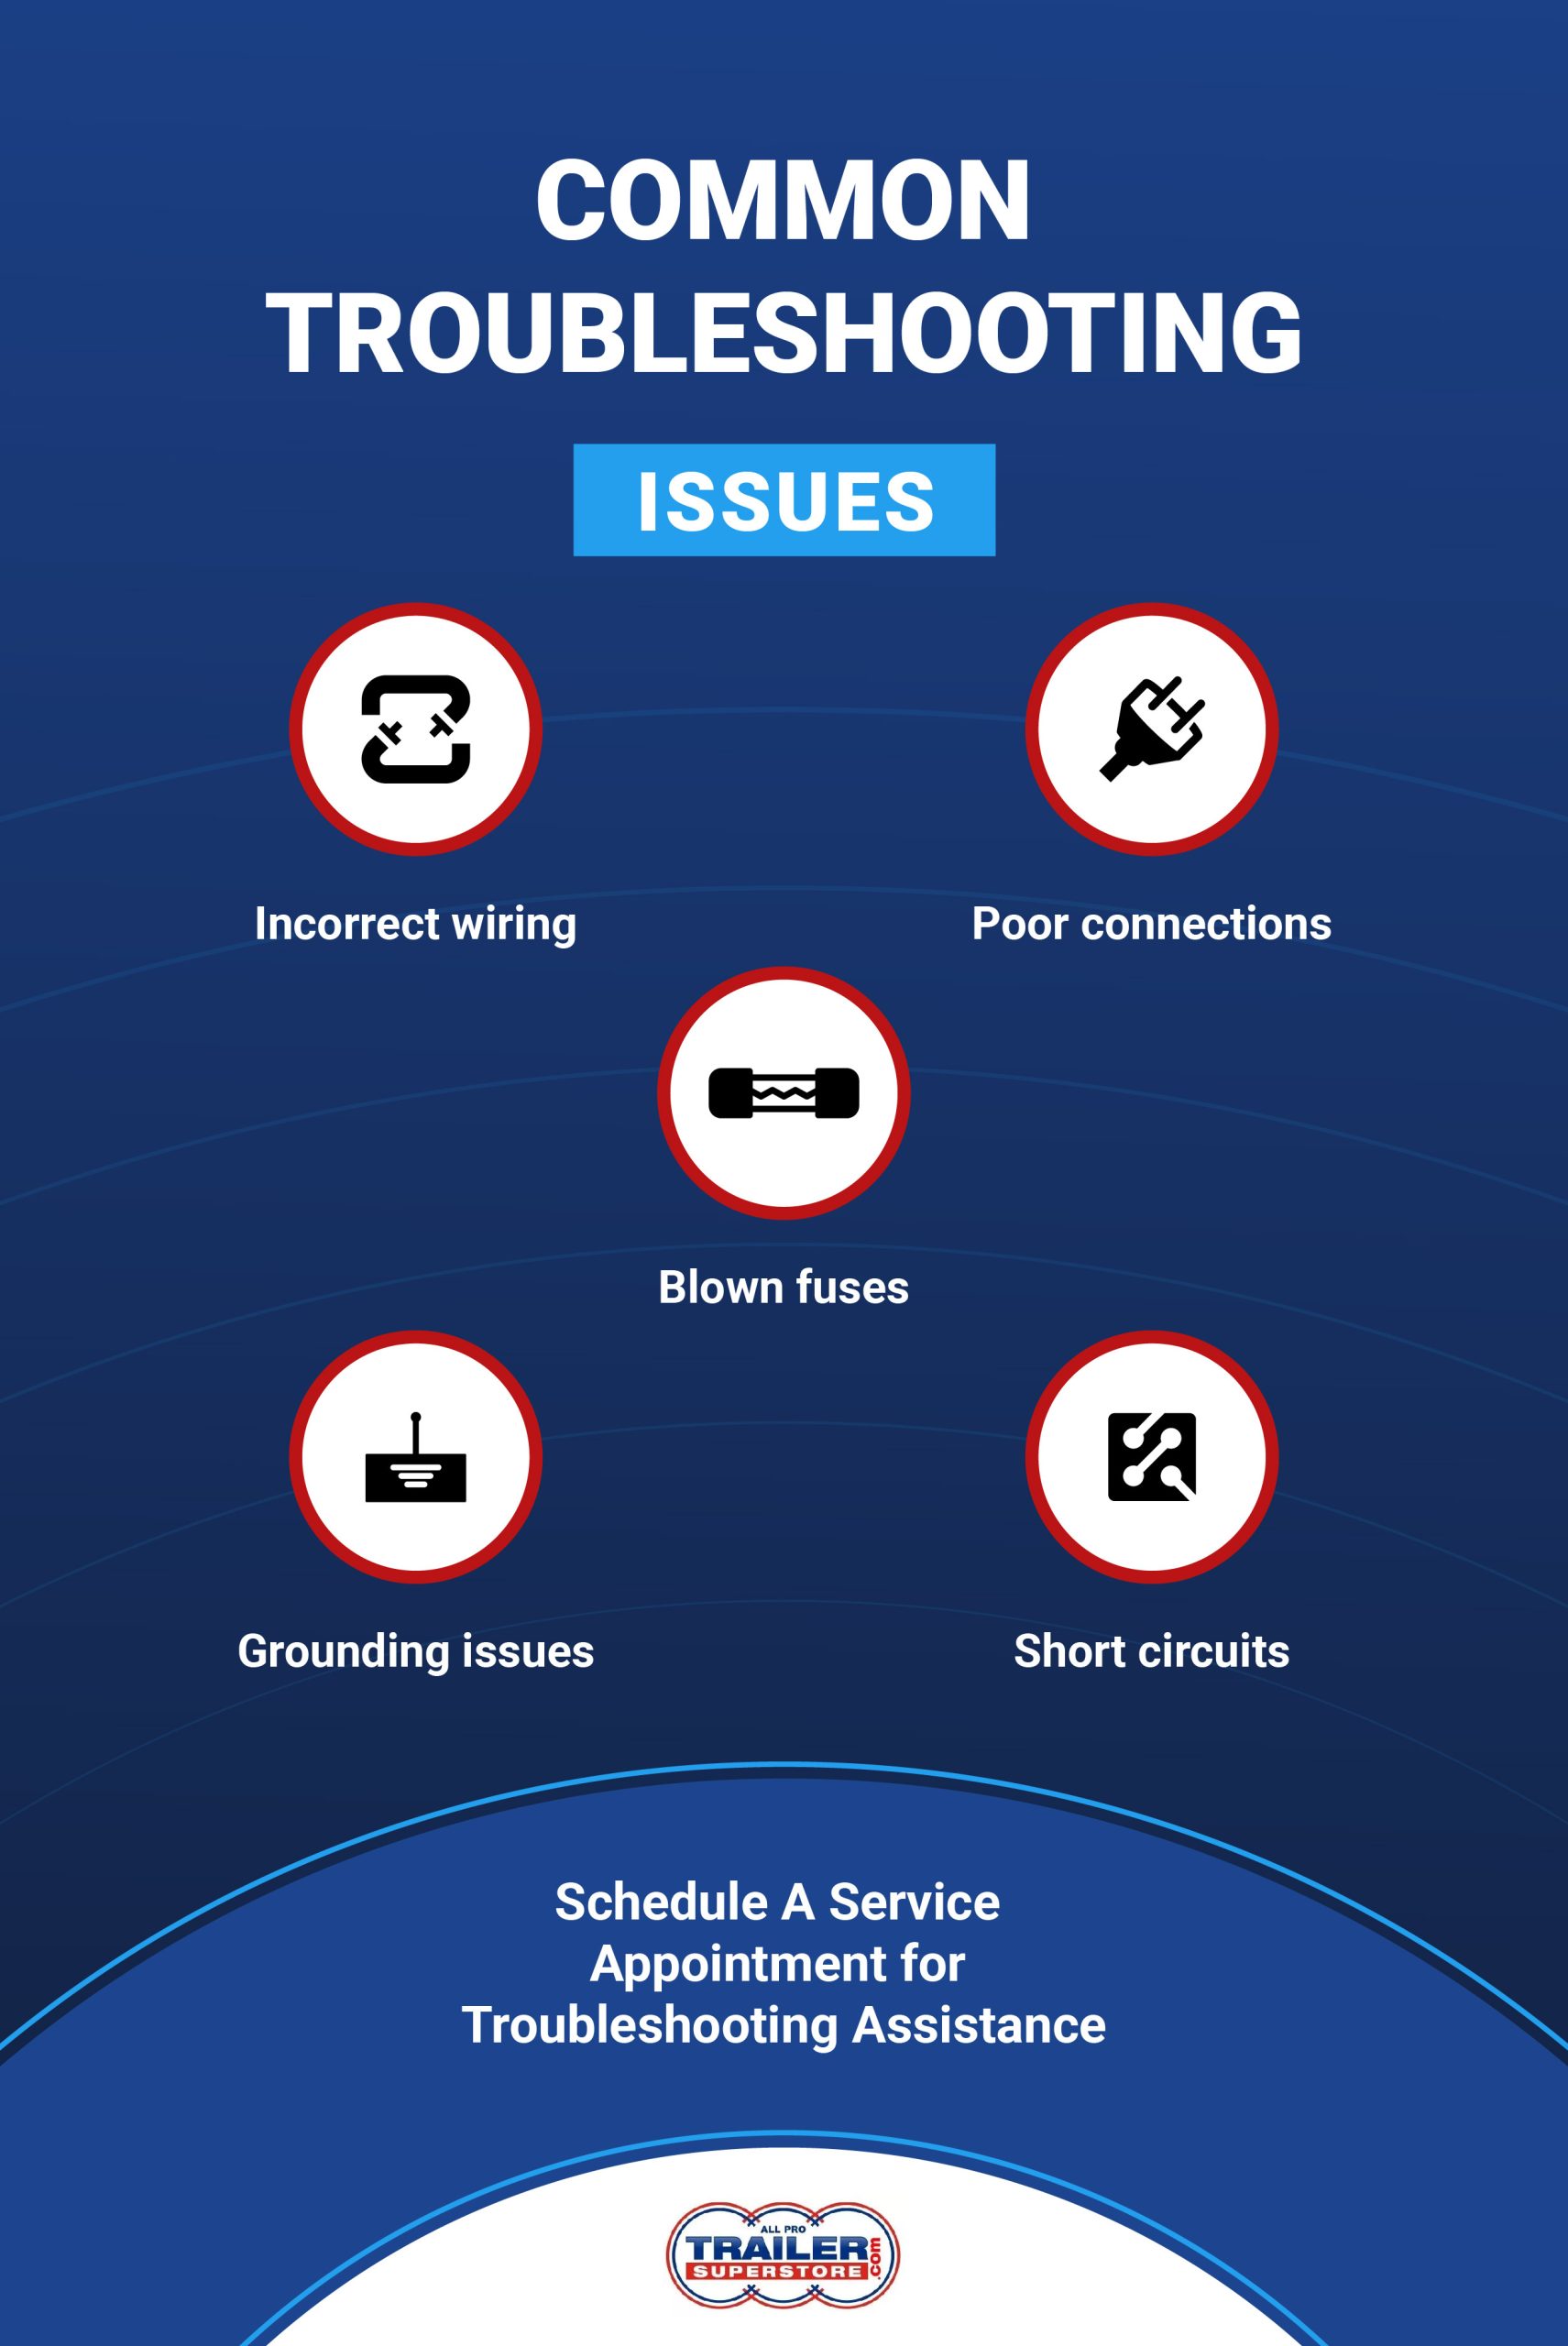
Common Troubleshooting Issues
When wiring a seven-pin trailer plug, common steps for troubleshooting include:
- Incorrect wiring: Double-check that each wire matches the correct function according to the color code.
- Poor connections: Ensure all connections are secure and free from corrosion.
- Blown fuses: Check for blown fuses in the towing vehicle or trailer’s electrical system.
- Grounding issues: Confirm the white wire is properly connected to the ground.
- Short circuits: Look for exposed wires or connections that may be touching.
Discover More With All Pro Trailer Superstore
All Pro Trailer Superstore is your one-stop shop for everything related to trailers, including new seven-way trailer plugs and repairs. If you need technical advice or installation expertise for your plug, our experts can help. Contact us online today to learn more.


