Troubleshooting Trailer Wiring Issues
Nov 20, 2018Last Updated on September 30, 2024 by Matthew Sholly
Last Updated on September 30, 2024 by allprotrailersuperstore
You rely on your trailer day in and day out whether you use it for landscaping, construction, farming, hunting, racing or your favorite hobbies. Hauling things like heavy equipment, tools, sports bikes, hunting gear and anything you can put in the back relies on not only a durable trailer but also one that functions safely on the road.
But what happens when you start experiencing trailer light wiring problems? What if your brake lights aren’t working, or your turn signals are dim? Or maybe the lights work under some circumstances but aren’t 100 percent reliable. No matter the problem, you always want to make sure your utility trailer is in top condition.
At Trailer Superstore, we understand trailer wiring can be frustrating, and you may not know where to begin troubleshooting. Our team of professionals is here to help you learn how to locate the problem and understand how to perform different tests. It’s crucial to diagnose a trailer wiring problem early on to get you back on the road in the safest way possible.
If your light wiring has a few small complications, you can diagnose the issues and fix the lights on your own. But for glitches that are more detailed, you can refer to the professionals at All Pro Trailer Superstore.
Table of Contents
- The Importance of Trailer Light Wiring
- Typical Trailer Wiring Problems and the Necessary Tools to Fix Them
- How to Fix Common Trailer Wiring Problems
- Rely on the Experts for Challenging Wiring Problems
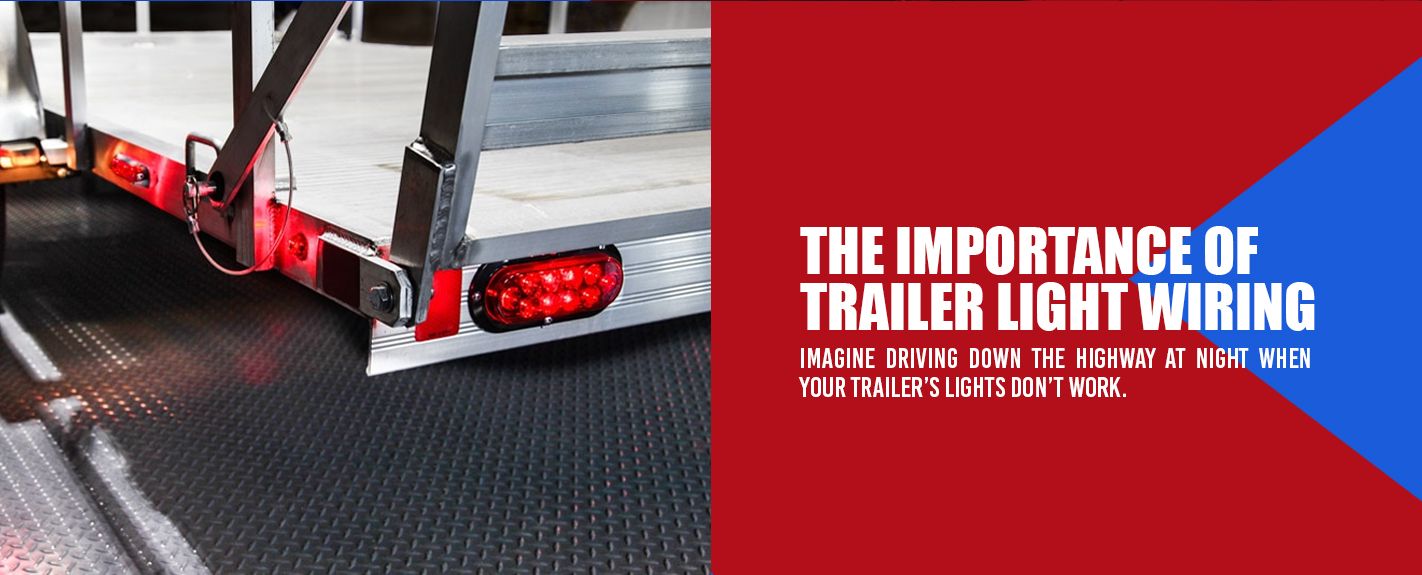
The Importance of Trailer Light Wiring
Imagine driving down the highway at night when your trailer’s lights don’t work. Other drivers and pedestrians won’t know your vehicle has extended equipment on the back, which can lead to hazardous situations. When others aren’t aware of your location — whether you’re turning or slowing down — your safety and the safety of others becomes compromised.
To be an aware and careful driver on the road, you need functioning trailer lights. They’re crucial for the utmost safety. Because everything wears out over time, it’s best to check your trailer light wiring every time before driving.
Typical Trailer Wiring Problems and the Necessary Tools to Fix Them
The lights on your trailer can be a bit dim or not work at all. There could be a burned out bulb, corrosion, broken wires or even a lousy light ground wire. But all these issues are easy fixes, and you can make the appropriate repairs. While wiring grounds are often the most typical problem, other common light wiring glitches with trailers include the following:
- One function of the trailer light system doesn’t work, like the brake lights or left turn signal.
- None of the light functions work.
- The lights worked at first but have stopped over time.
- Switching on one turn signal causes both sides of the trailer to turn on.
- Turning on the vehicle’s headlights causes the trailer lights to stop functioning.
- One or more of the trailer lights remain on, even with the ignition turned off.
- The harness functions until you connect the trailer.
- The trailer’s reverse lights aren’t working.
With each common problem, there are several possible issues that you can detect within your trailer lighting. For example, if only one function of the wiring system isn’t working, it could be because the harness wires aren’t connected to your car. Take a look at the following potential wiring faults that correspond to the complications listed above:
- The harness wires aren’t connected, a set of connectors isn’t making a strong connection, a fuse blew, the brake wire isn’t connected or there’s an insufficient ground.
- The 12V power wire isn’t linked to the car’s battery, the harness has a factory tow package and the vehicle doesn’t, there’s a blown or missing relay or fuse, the harness has a poor connection to the ground or there was a harness overload.
- There’s a loose or weak ground connection, the harness experienced an overload because of an excessive draw or there’s a short in the wiring.
- The brake wire on the harness isn’t grounded, or there’s an insufficient ground.
- There’s an inadequate ground on the truck or trailer side or an overloaded harness because of too many lights.
- Improper connection to the truck wire exists, there’s an insufficient ground or the trailer has LED lights powered by the 4-way plug.
- There’s an insufficient ground or a harness overload when the trailer connects to the vehicle.
- The fifth wire isn’t attached to the reverse circuit on the car, or there’s an insufficient ground.
As you can see, the most repeated problem when it comes to trailer light wiring refers back to poor ground connections. You can fix most wiring issues by following a few simple steps, but for full wiring replacements and more complicated jobs, we recommend you rely on the experts at All Pro Trailer Superstore.
Rely on the Experts for Challenging Wiring Problems
Contact Trailer Superstore Online
Always avoid rewiring the entire system until you’ve checked all the possibilities. Depending on the type of maintenance you need to complete, refer to the following list of necessary tools:
- 12V battery
- Additional wire
- Continuity tester
- Dielectric grease
- Dowel
- Electrical contact cleaner
- Electrical tape
- Jumper wire
- Light bulbs
- Nut driver
- Power drill
- Sandpaper
- Screwdriver
- Tow vehicle tester
- Wire fasteners
- Wire stripper
- Wiring kit
If all you need to do is a simple light bulb switch, you have it easy. But sometimes your trailer wiring involves a bit more than unscrewing and screwing. Corrosion can build up in challenging-to-reach places, or you may need to replace part of a wire. If you’re unsure of how to troubleshoot your trailer light wiring system, the specialists at All Pro Trailer Superstore are here to help.

How to Fix Common Trailer Wiring Problems
First things first — start by testing the vehicle and the trailer separately to eliminate common issues. You have to determine if there’s a problem with the tow vehicle or the trailer by analyzing the separate wiring systems in manageable sections as opposed to all at once. If you begin testing when the truck and trailer are attached, you won’t know where the problem stems from.
The following step-by-step guide will help you troubleshoot your trailer wiring. Whether you have a 4-way plug, need to analyze the ground connections or have an overload situation, there’s a resolution. Small fixes like these are easy to perform and don’t require anything but time and a few tools. Once you begin to experience more elaborate problems, that’s when you should allow us to step in and help.
1. Testing for Proper Functions
For a 4-way plug, use a 12V circuit tester to check the function of your vehicle’s lights. Ask someone to help engage different lights so that you can focus on observing in the back. But before you perform any tests, remove the fuse on the power for several minutes, then reinstall it. If any light functions do not have the right power reading, test the wiring that goes into the converter box. If the light wiring functions are correct, you can examine the trailer wiring system.
Behind the converter box, check that the signals go to the converter box from the truck or car. A green and yellow wire should indicate turn signals and brake lights for a two-wire vehicle. On a three-wire car, red wires carry brake lights and yellow and green are for turn signals. If any of the light functions don’t have the proper power, look for the following:
- Loose connectors or wires and missing fuses or relays on a plug-in harness
- Weak or loose ground connections on a hand-wired harness
- Wires that are attached to the incorrect places on the truck
2. Confirming Accurate Wire Connections
For a hard wire installation, confirm that each wire connects to the right location. Standard wire colors exist, but make sure to check connections according to their functions if your system varies. If your vehicle has combined brake lights and turn signals, your brake wire will be grounded with the color white. A 12V power wire should connect to your car’s positive battery terminal, and if your trailer has a 5-way harness wire, make sure the truck’s fifth wire connects to the reverse light circuit.
When it comes to a plug-in installation, take a look at the following inspections you can make:
- Secure the connection between the 12V power wire and vehicle battery while checking for blown fuses.
- Make sure your vehicle has a tow package if you’re working with a factory tow package harness.
- Certify that the part number aligns with the correct make, model and year of your truck.
- Confirm that the harness connectors are on the proper side of the vehicle, with green wires on the passenger side and yellow on the driver’s.
- Make sure the connectors click together by removing and connecting them again.
- Inspect the connectors for loose or damaged wires, loose or bent pins and broken locking tabs.
You can also perform a continuity test. To troubleshoot your trailer wiring, connect a jumper wire to the connector pins and the continuity tester to the system’s sockets. A continuity test helps you see if there are any broken wires. Select a color of wire in the socket, and find the same one on the connector front. Clip one end of the jumper wire to the connector pin, and clip the other to the continuity tester.
Probe the tester inside the socket. If your trailer lights are failing, trace the wire and check for breaks. Cut anywhere you see a fault, then solder on a new connection, and repair the insulation with heat-shrink tubing.
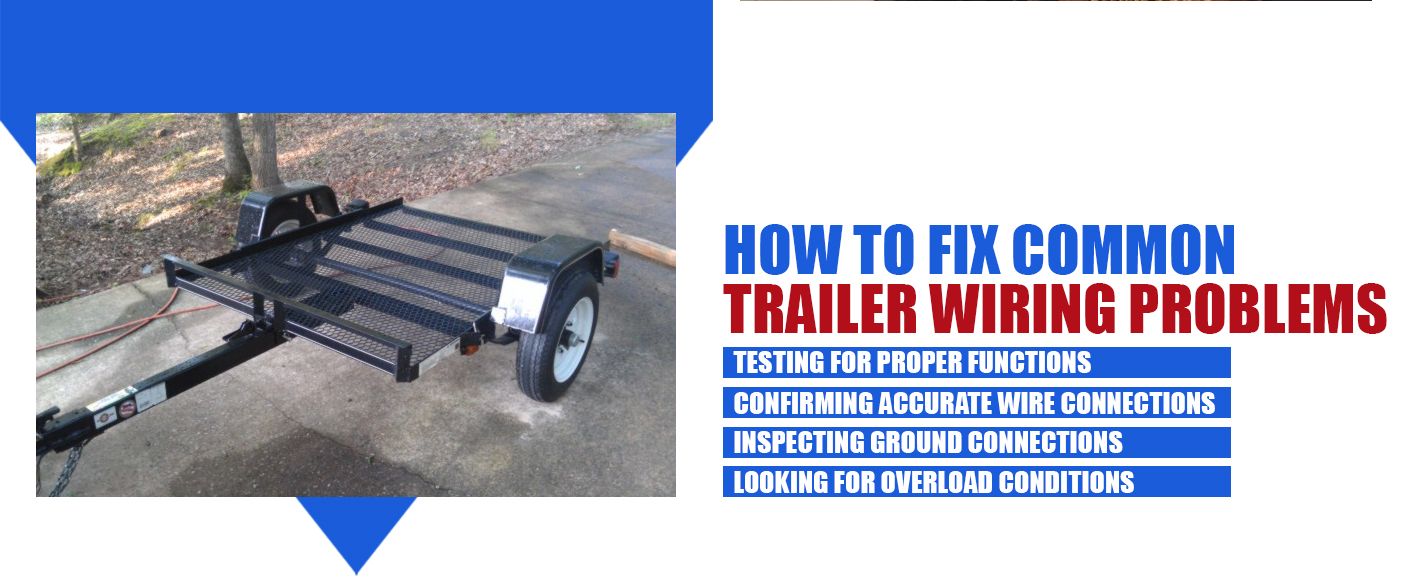
3. Inspecting Ground Connections
On your truck, check the ground region for corrosion and paint buildup. Clean the area as necessary until you reach a clean metal surface or can replace any corroded ground screws.
If you have a factory ground screw, make sure additional ring terminals aren’t stacked below the ground. If they are, move the ground for the harness to a different location or toward the bottom. Finally, disconnect the ground wire and attach it to a piece of wire that runs to your car’s negative battery terminal. If it solves your light wiring issue, you can keep the cable in place.
When it comes to your trailer, checking your ground system is critical. Ensure the ground wire connects to the trailer frame. If the trailer has a tongue fold, make sure the connection is behind the tongue on the structure. You can also shift the ground wire to the frame if it’s attached to an aluminum area.
4. Looking for Overload Conditions
An overload occurs when a circuit experiences more electricity than it can handle, which can cause overheating and melting. Be aware of the maximum amperage rating of the harness, and compare it to the draw of your trailer lights. In some cases, you can reset the unit by removing the fuse and leaving it for several minutes. Use a circuit tester to check the 4-way plug function, remembering not to plug in the trailer before testing.
Your trailer may have a short if each function is present after the resetting process. If the trailer lights draw more amperage than the harness can handle, remove the bulbs from the extra clearance lights and connect the trailer. If the harness works without any bulbs, it indicates an overdraw from the number of lights on the trailer. Remove the clearance lights, and replace them with LED versions to draw less power.
5. Other Possible Trailer Light Wiring Issues
Over time, the elements can overtake your trailer and create a buildup of corrosion in different areas. Make a note to check for corrosion, which can look green or white. Either replace the plugs or clean them with battery terminal cleaner. You’ll want to complete this step after you’ve checked the car’s lights and if the trailer’s lights still seem dim or aren’t working. You can also spray the connector with electrical contact cleaner and use a fine wire brush to clean each contact pin. It will help to create a stronger connection between the wires too.
When corrosion reaches the wiring socket, it can cause your light to not work. Another cleaning method includes the removal of corrosion by using 220-grit sandpaper. If you can’t reach your fingers into tiny spaces, hot glue a strip of sandpaper to a 3/8-inch dowel. Clean each point by spinning the wooden dowel and forcing it side to side. After that, put a tiny bit of dielectric grease on the contacts, and replace the light bulb. If your lights still aren’t working, check the mounting bolts to make sure they have clean contact with the trailer frame.
You should also ensure that the non-aluminum mounting area is clean and paint-free if the lights ground through mounting hardware. If the surface is aluminum, connect a wire from the ground and a light stud to the frame. Last but not least, check light bulbs for proper functioning and replace as needed. Screw off and screw back on — it’s that simple. If any of your light bulbs on the trailer break or the bulb goes out, remove the old and install a new one. It can happen to any light, including the running, blinker and stop light.
In the case that your trailer has more advanced wiring issues, you can rely on trailer experts from All Pro Trailer Superstore. Our team can redo the entire wiring system if the corrosion is too much to sand off or you need a whole new wire harness, which includes connectors, lenses, lights and other specifics.
Rely on the Experts for Challenging Wiring Problems
After you’ve troubleshot the light wiring system on your trailer, you may find that you need a bit of extra support. For more advanced issues that you can’t fix on your own, bring your trailer into Trailer Superstore. Our representatives form a team of reliable, efficient, educated and committed professionals who stand as leaders in the industry. All Pro Trailer Superstore provides maintenance services and will work with you to ensure our efforts fit your budget and application.
As a full-service trailer provider, we also sell, finance, inspect, customize, trade-in, title and tag, store, wrap and deliver trailers nationwide. We provide a line of trailer accessories and towing products within our massive inventory. When your trailer wiring system needs a complete rewiring, contact Trailer Superstore online to set up an appointment or speak with a specialist.
