How to Install a Trailer Brake Controller
Apr 29, 2024Last Updated on February 12, 2025 by Matthew Sholly
Last Updated on February 12, 2025 by allprotrailersuperstore
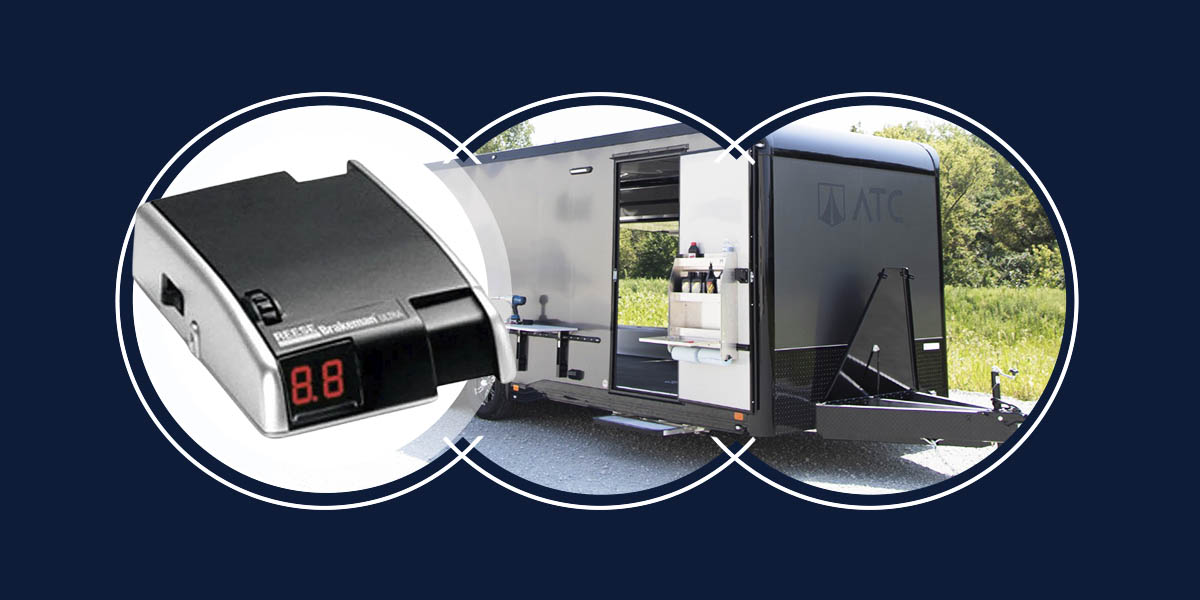
Trailer brake controllers are essential for safe towing. Whatever you’re hauling, having good brake controllers can help improve your fuel efficiency while keeping you safe on the road. Here’s a quick guide to trailer brake controller basics to help you easily install and maintain your brake controller.
What Is a Trailer Brake Controller?
Trailer brake controllers are the devices that control your trailer’s brakes while you tow it. During braking, your trailer can sway or jackknife, causing safety problems and even accidents. Having a trailer brake controller installed lets you adjust the braking force your trailer receives, giving you more control over the braking process. Additionally, brake controllers improve efficiency — they distribute braking force more evenly, reducing wear and keeping your braking steady for better fuel efficiency.
How Does a Trailer Brake Controller Work?
Trailer brake controllers can sense the towing vehicle’s deceleration and respond quickly. When the brake controller detects deceleration, it sends an electrical signal to the trailer’s brakes. With a brake controller, your trailer brakes can brake at the same time as your towing vehicle instead of having a delay. With simultaneous braking, you’ll get a smoother, more controlled deceleration. Braking controllers let you adjust brake control to fit different trailer weights and towing conditions, making your towing experience safer and more efficient.
Preparing for Installation
Before installing your trailer brake controller, you need the right tools for the job. Knowing where you want to install the controller and how you’ll do it makes installation easier.
Tools and Materials Needed
Here are the tools you need to install your brake controller successfully:
- Screwdriver
- Wire crimpers
- Wire strippers
- Drill and bits
- Wiring harness
- Mounting brackets
- Electrical tape
Selecting the Right Location
You also need to decide where you want your controller to go. It should be easy to reach from the driver’s seat without getting in the way. Find a flat surface that’s strong enough to support the controller. You should also avoid mounting the controller where feet and cargo could damage it so you can stay safe while towing. After finding the best spot, you can install the controller.
Installing Your Trailer Brake Controller
When you’ve got everything together, it’s time to start your trailer brake installation. Get your tools ready and follow these steps for a successful installation and wiring:
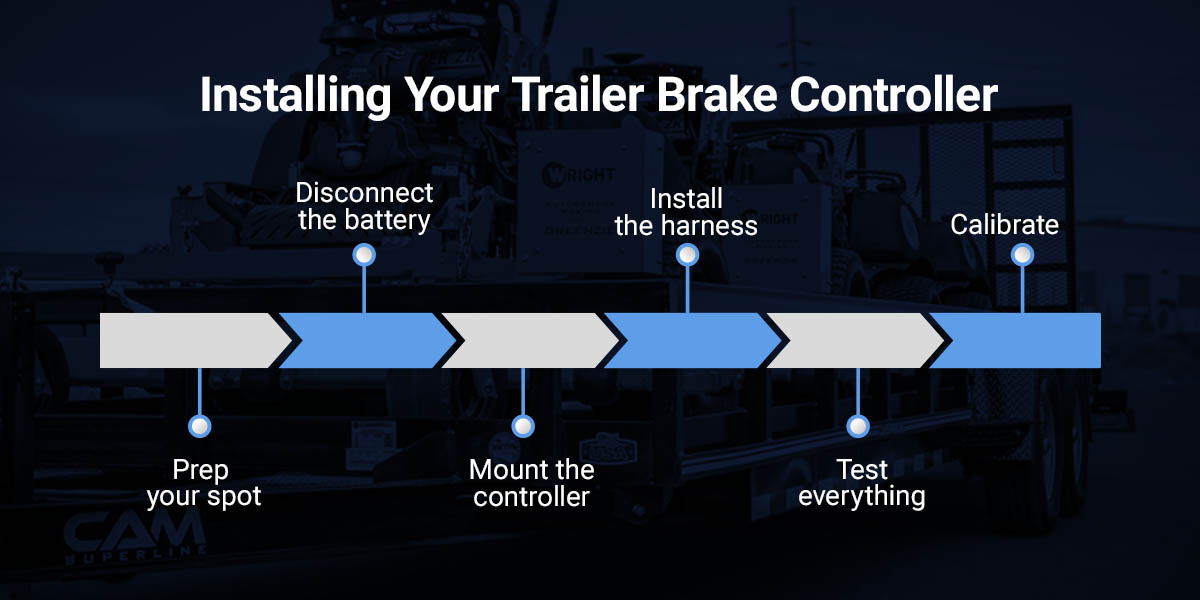
- Prep your spot: After you’ve picked out your controller spot, you’ll need to prepare it for installation. Clear out clutter and clean any debris so you have a nice spot to work in.
- Disconnect the battery: Disconnect your car’s negative battery cable to avoid dangerous power problems.
- Mount the controller: Use the mounting brackets and screws in your controller kit to mount the controller inside your vehicle.
- Install the harness: Plug the brake controller’s harness into your vehicle’s harness. This works for some controllers, but others need you to connect the wires yourself. Carefully connect your harness wires to the right trailer brake controller wires, following your kit instructions. When connecting, use your wire stripper to strip a small part of the wire’s coating, exposing the wire. Use your wire crimp connectors to make the connections secure.
- Test everything: Once the controller is connected, reconnect the battery and turn on your vehicle to test everything. If your trailer brake lights activate when you press your vehicle’s brake pedals, everything works correctly. If you need help, review your controller instructions and ensure you connected everything correctly.
- Calibrate: Your brake controller might need some calibration. Use the manufacturer’s instructions to calibrate your controller based on your trailer’s weight.
Using Your Trailer Brake Controller
Once you’ve installed the brake controller, you’re ready to use it. With some controllers, you must adjust the settings to your trailer weight and braking needs. All you have to do is follow your manufacturer’s instructions to get the gain level correct. After you’ve got everything the way you want it, it’s time to drive. Just gently press on your vehicle’s brakes, and the trailer brakes should activate, too. Make sure it’s braking as smoothly as you want — if not, you might need to readjust the controls. Keep testing until you’re happy.
Here are some tips to help you use your trailer brake controller safely:
- Stay alert: Always keep an eye on the trailer while driving. You’re carrying an extra load, which affects your braking and turning abilities. Brake earlier than normal and take wide turns to stay safe.
- Check the controller: Regularly check your controller for issues, reviewing the wiring and testing the system.
- Adjust settings: Adjust your controller settings if you’re driving through new road conditions or with a new trailer.
Adjusting Your Trailer Brake Controller
When you’re towing various things, you’ll likely need to adjust your controller to stay safe. Different trailer loads and driving conditions need setting adjustments for the best performance. Take these considerations in mind for a better towing experience:
- Load: The heavier the load, the more you’ll need to increase the controller’s sensitivity or gain. Increased gain lets your brake controller increase the force it applies — more weight means more force is required to stop safely. When towing a lighter load, decrease the gain to reduce excessive braking and maximize fuel efficiency.
- Road conditions: The road conditions will also influence the settings you need to use. In icy or slippery conditions, decrease your gain to keep the trailer brakes from locking up. For steep downhill routes, increase the gain to avoid the trailer hitting the towing vehicle. With careful adjustment, you can safely navigate any road.
Troubleshooting Common Issues
Having a towing brake controller means you might experience the occasional issue. Knowing how to handle common problems will help you reduce wear and tear and keep your controller safe. Here are some troubleshooting tips to help you:
- Inspect power: Ensure your controller is getting power from your vehicle. A wiring or fuse issue might prevent power from reaching the controller.
- Check brakes: Regularly check your trailer brakes to stay safe on the road. Worn brake components can reduce braking performance and cause safety issues. Replace the brakes as needed to avoid problems.
- Look at connections: You can also check the wiring connections to make sure everything’s securely placed. Corroded or loosed connections can cause braking problems.
- Adjust settings: If your braking seems off, you might just need to adjust the settings. Try different gain levels to get the right braking for your trailer.
- Use the manual: Your controller manual is an excellent resource for troubleshooting. It should have some tips for fixing common problems. Contact a professional if you can’t find a solution to your issue. They’ll check out your controller and help you fix the problem.
Maintenance and Safety Checks
Remember to stay on top of maintenance and safety checks to get the best results out of your brake controller. You’ll catch problems early with good maintenance and prevent expensive safety issues. Here are the maintenance tasks you should be doing regularly:
- Visual inspection: You should regularly review your trailer and brake controller for loose wires, cracks, corrosion or damage. Ensure everything’s secure and replace problems you see.
- Brake fluid checks: Check your brake fluid levels to avoid low fluid. Low brake fluid can reduce braking performance, causing safety issues.
- Brake pad inspection: Look at your brake pads for wear. Replace any worn drums or brake pads to keep your braking efficient and safe.
Safety Checks Before Hauling
Before every drive, test your brakes and adjust the controller settings if needed. Testing before a long trip lets you know if there are any problems, helping keep you and other drivers safe. Adjust your controller settings when you change your trailer or driving environment. Updating your settings helps you brake more efficiently and reduces risk while you haul. With good safety checks, you can minimize wear and enjoy a safe trip.
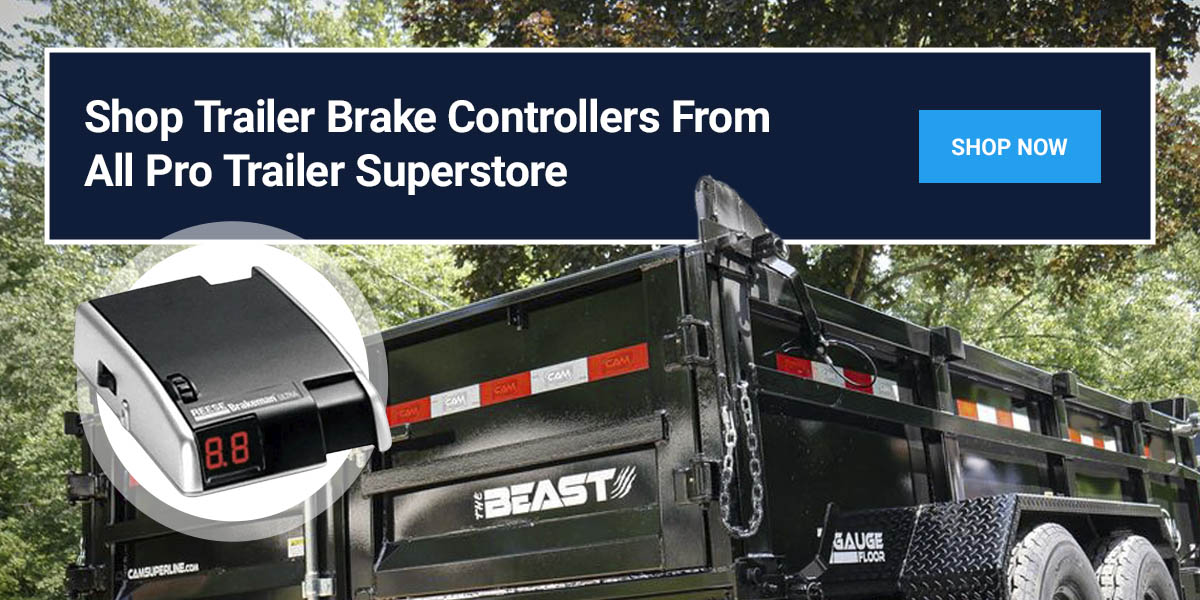
Shop Trailer Brake Controllers From All Pro Trailer Superstore
At All Pro Trailer Superstore, we’ve got everything you need for safe, efficient trailer hauling. Our comprehensive range of trailers and trailer accessories lets you find the equipment you need to do the job. Whether you’re looking for a quality brake controller or a brand new trailer for sale, we’ve got you covered. Choose us for trailer purchases, rentals, sales and services — we put the customer first every time. When you’re hauling, you need to know your equipment can stand up to the job. Stay safe with products and services from the experts at All Pro Trailer Superstore!
